Getting Started
Logging In
- Open the ITB Data Modeler in your browser (e.g.
http://itb.localhost). - Enter your email and password on the login screen.
- Click Sign In.
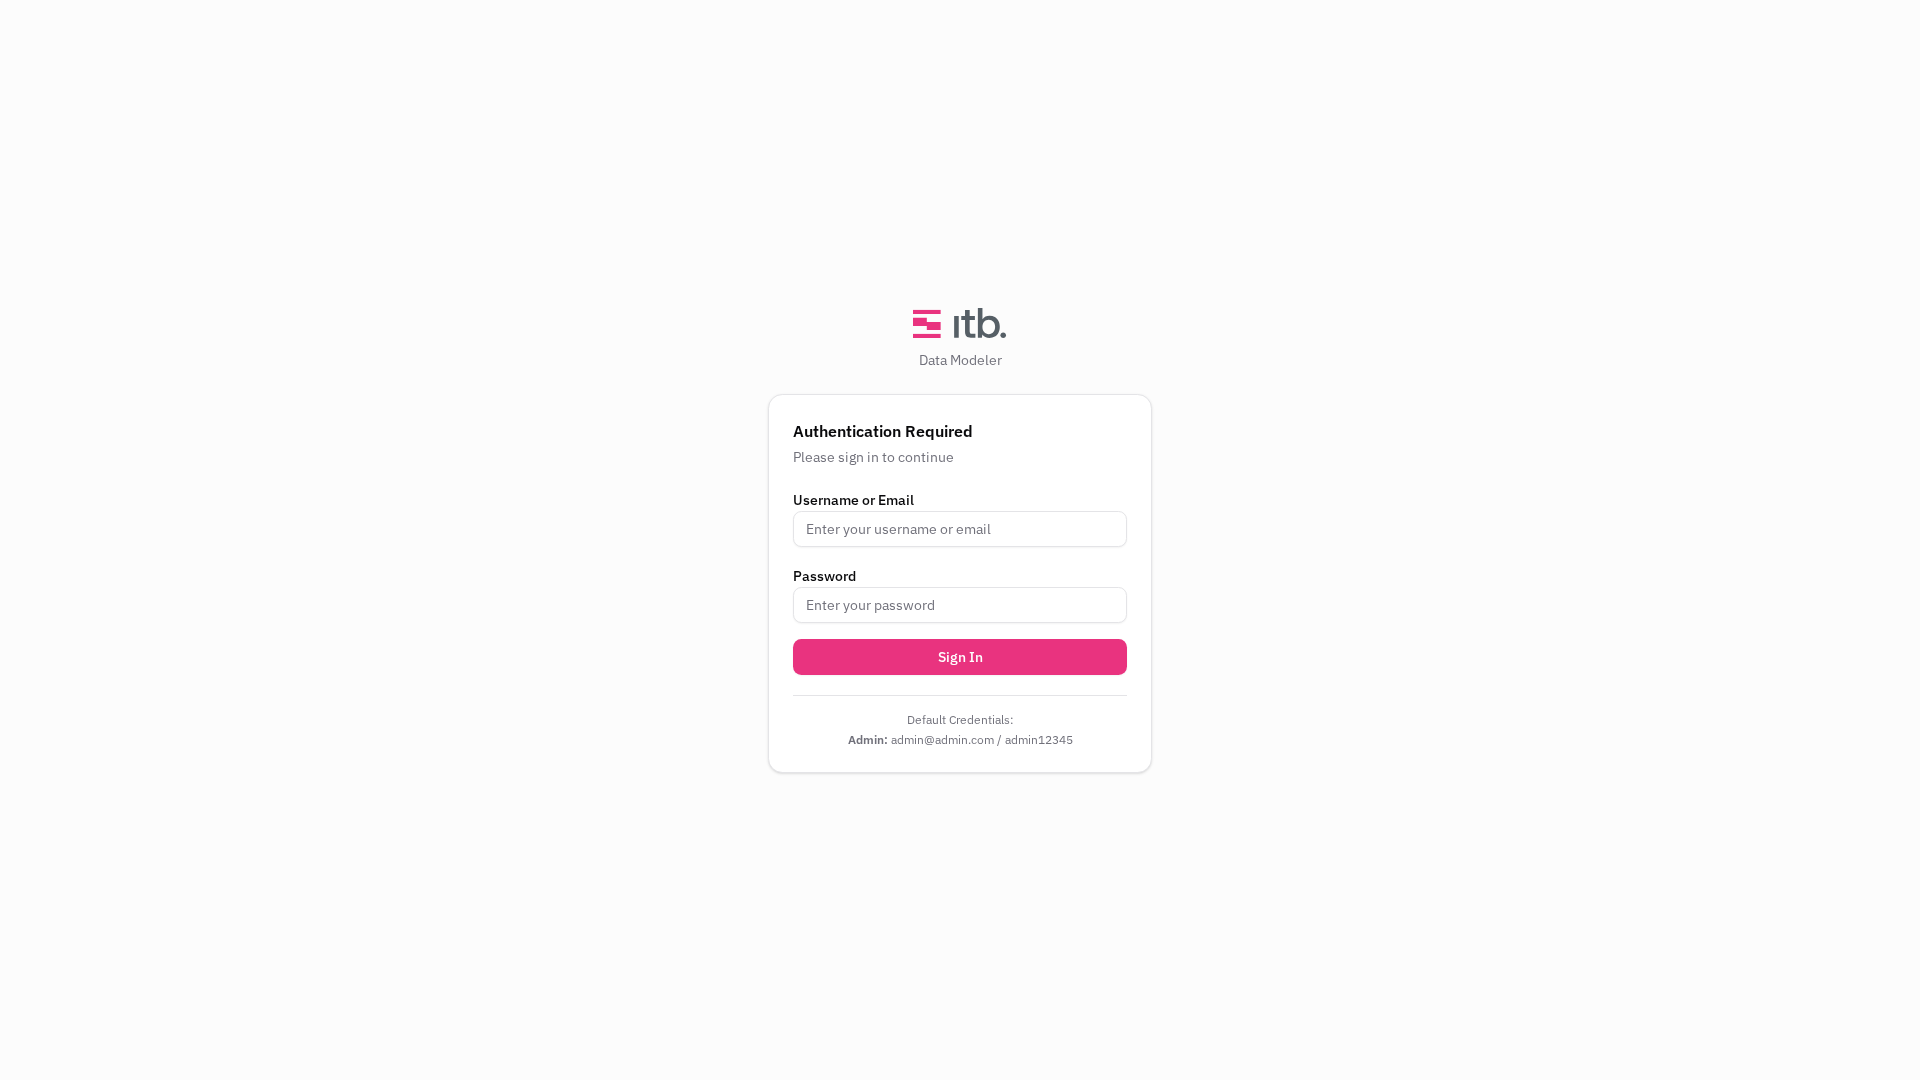
After a successful login you are taken to the main workspace.
The Workspace
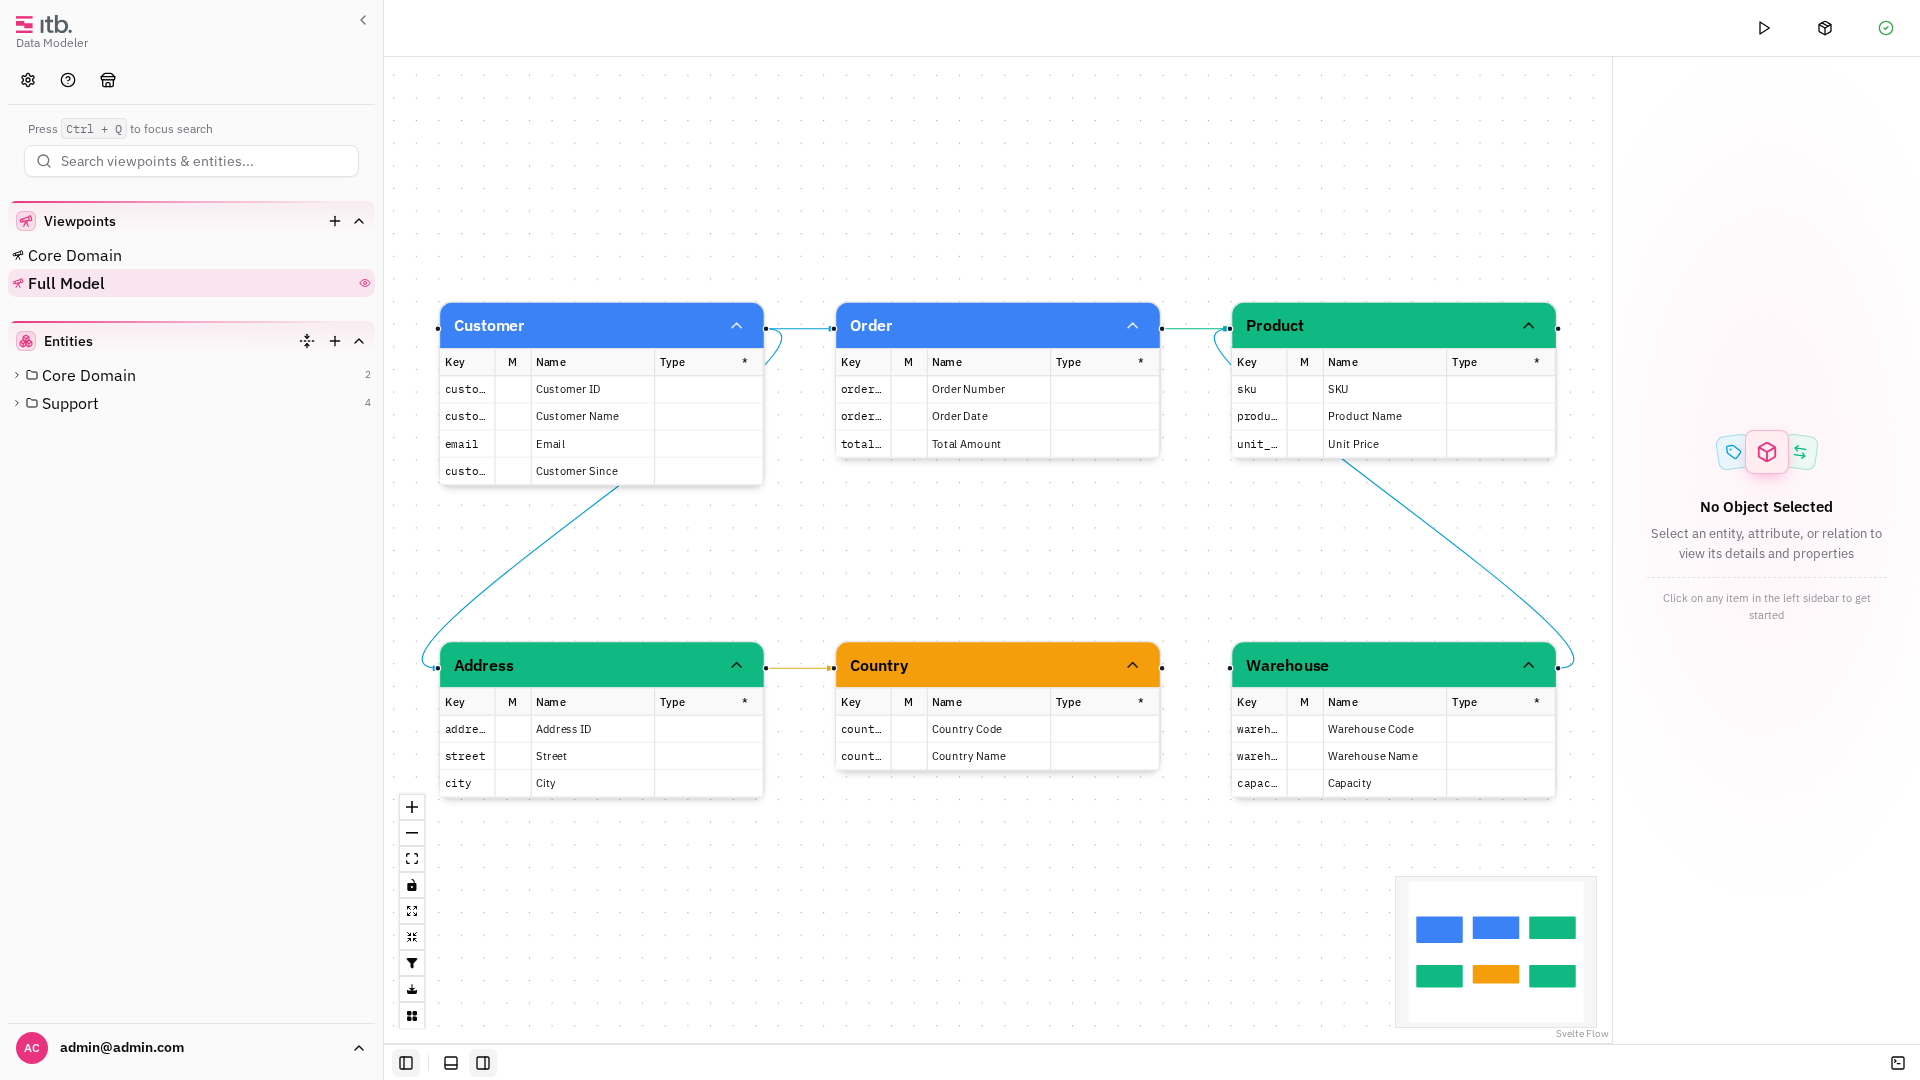
| Area | Location | Purpose |
|---|---|---|
| Left sidebar | Left edge, full height | The ITB logo, then Settings, Help and Marketplace; below them search, viewpoints and the entity tree; your account at the foot |
| Header | Top of the canvas | What acts on the model: Generate All, Model Actions, Sync & History |
| Canvas | Centre | Visual graph of entities and relations |
| Properties | Right edge | Detail panel for the selected entity, attribute or relation |
| Panels | Below the canvas | Templates, Quality, SQL — and the console and Bonsai, each filling the area on its own |
| Status bar | Along the bottom | One toggle per area |
The area below the canvas starts closed, so the canvas gets the height. Both it and the properties pane remember how you left them.
Status Bar
The strip along the bottom of the workspace is where areas are shown and hidden. Left to right:
| Toggle | Opens |
|---|---|
| Toggle sidebar | the left sidebar |
| Bonsai | the assistant, filling the lower area (Enterprise, and only when the backend has it configured) |
| Panels | the lower area with its tab strip: Templates, Quality, SQL |
| Properties | the detail pane on the right |
| Console | the console, filling the lower area — set apart at the far right, because it is the one place here you work in rather than look at |
Each area can also be closed by a chevron in its own corner.
In-App Guided Tour
The ITB Data Modeler includes interactive guided tours. Click Help in the left sidebar to open the help menu, then start a tour. There are six, and they follow the order in which you would build a model:
| Tour | Steps | Covers |
|---|---|---|
| Getting Started | 5 | The canvas, the entity sidebar, the inspector panel, settings, help |
| Types & Custom Properties | 8 | Type definitions and configuration, then defining custom properties and assigning their values |
| Entities & Attributes | 7 | Groups, creating an entity, its Overview / Attributes / Relations tabs, putting it on the canvas |
| Relations & Canvas | 8 | Creating relations, filtering by type, auto-arrange, navigation, save as image, expand / collapse |
| Viewpoints | 4 | What a viewpoint is, creating one, the list, switching between them |
| Model State & History | 6 | Clean vs. dirty, save and discard, history and revert, locking, recovery |
The same Help menu also links back to this documentation.
Header Toolbar
The header carries what acts on the model:
- Generate All — run template-based code generation
- Model Actions — model properties, upload, download, download artifacts, import a JSON schema, import or download a bundle, delete the model, and the Git actions Publish Model to Git / Restore Model from Git
- Sync & History — change history and revert
What acts on the application moved to the left sidebar in 0.1.2: Settings, Help and Marketplace sit under the logo. The sidebar toggle moved to the status bar.

Settings
Open Settings from the left sidebar. Five tabs, the last of them only when the deployment has sources configured:
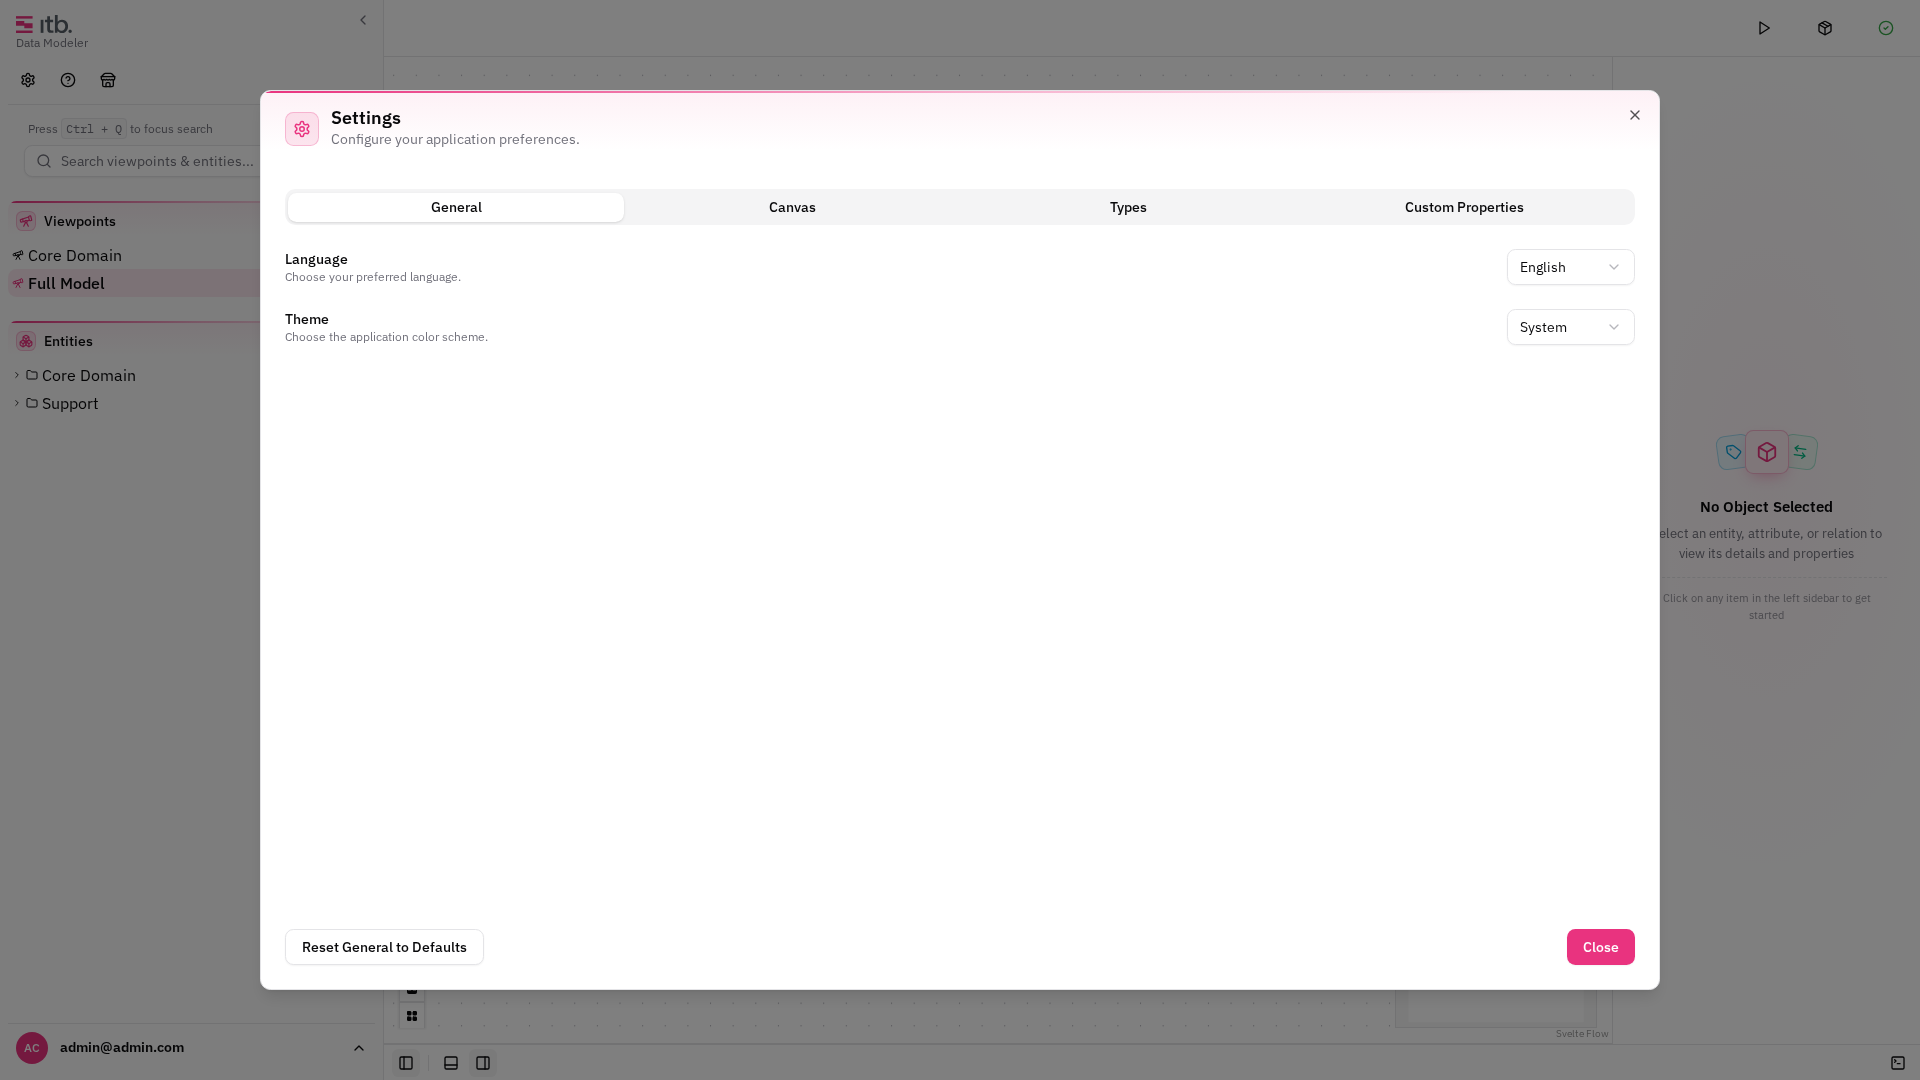
General
- Language — switch between English and Deutsch.
- Theme — choose Light, Dark, or System (follows your OS preference).
Canvas
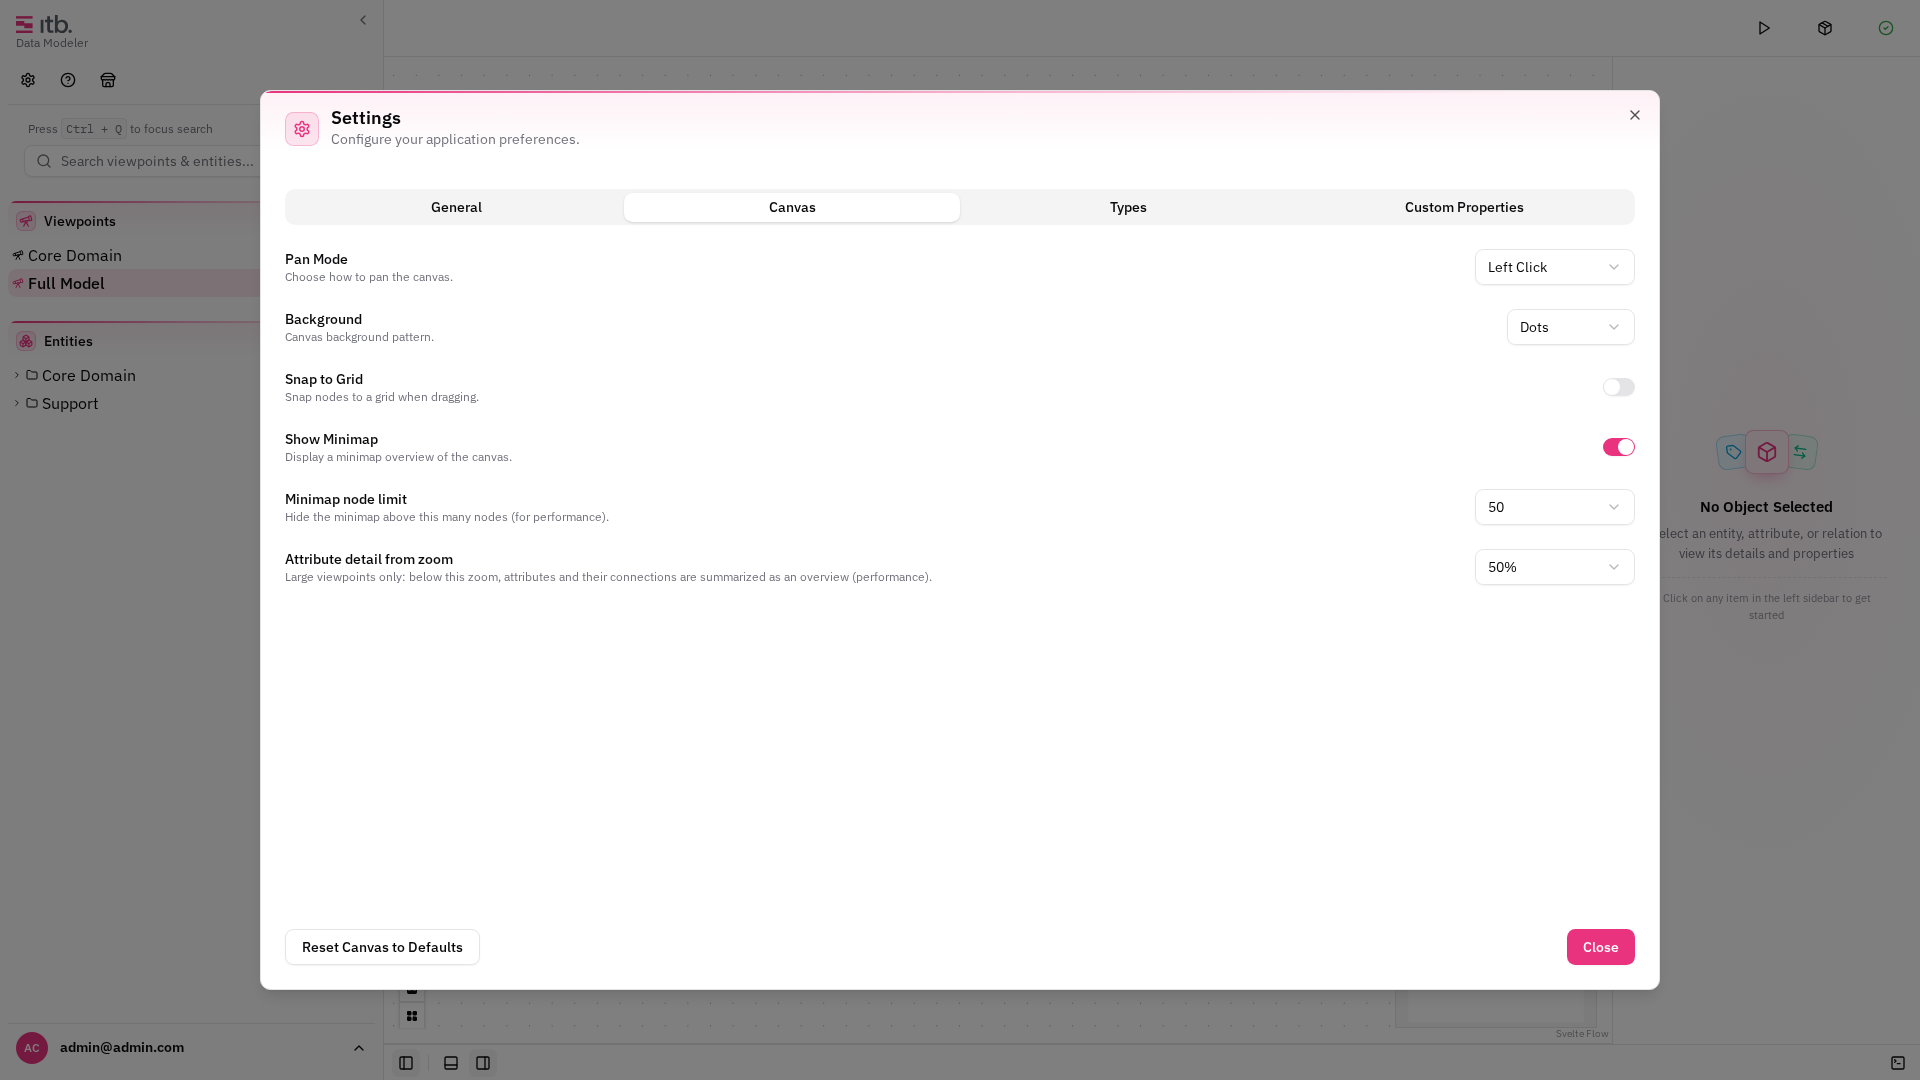
- Pan Mode — choose between Default, Selection, or Middle-click panning.
- Background — select Dots, Lines, Cross, or None.
- Snap to Grid — toggle snapping and set the grid size (10–50 px).
- Show Minimap — toggle the minimap overlay on the canvas.
Reset Canvas to Defaults restores every canvas setting; the General tab has its own Reset General to Defaults.
Types
Manage the four type families: entity types, attribute types, relation types and viewpoint types. See Entities and Relations for details.
Custom Properties
Define custom metadata fields on entities, attributes, relations — or on the model itself. See Custom Properties.
Sources
Configured source systems, where the deployment has any. The tab is not shown otherwise.
Panels
The tab strip in the same area holds three tools that read the model you have open:
| Tab | What it does |
|---|---|
| Templates | Which template definitions apply to the selected entity, with Explain why and View code — see Show Templates |
| Quality | Runs installed rule packs against the model and reports pass, fail or error per rule, with the offending records |
| SQL | Queries the current model read-only with real SQL — joins, aggregates, JSON functions |
Quality rule packs are installed per user from the Quality rules group in the Marketplace; adding or changing rules needs no new client.